
自分への備忘録として、MacBook ProにReact Nativeの環境を構築する手順を残しておきます。
公式サイトを参考にしています。
https://facebook.github.io/react-native/docs/getting-started
Homebrewのインストール
まずはHomebrewをインストールします。
HomebrewとはMacOS用パッケージマネージャーです。
homebrewインストール
$ /usr/bin/ruby -e "$(curl -fsSL https://raw.githubusercontent.com/Homebrew/install/master/install)"
出典元
https://brew.sh/index_ja
途中で以下の確認が入ります。
Downloaded Command Line Tools for Xcode

Installing Command Line Tools for Xcode
インストール後の確認
$ brew doctor
Your system is ready to brew.
以下が出ればインストール完了です。
「Your system is ready to brew.」
nodebrewのインストール
次にnodebrewのをインストールします。
nodebrewとはnode.jsのバージョンを管理するToolです。
コマンドは以下の通りです。
$ brew install nodebrew
~/.bash_profile を修正
$ vi ~/.bash_profile
export PATH=$HOME/.nodebrew/current/bin:$PATH
Node.js 利用可能なすべてのバージョンを表示
$ nodebrew ls-all
コマンド実行時に「Warning: : No such file or directory」 のエラーが発生する場合があります。
これはインストールディレクトリに「src」のディレクトリが存在しないからです。
ディレクトリを作成しておきましょう。
$ mkdir -p ~/.nodebrew/src
Node.jsのインストール
次にNode.jsをインストールします。
$ nodebrew install v12.13.0
Installed successfully

$ nodebrew use v12.13.0
use v12.13.0

$ node -v
v12.13.0

$ npm -v
6.12.0
Watchmanの導入
WatchmanはFacebookが作成したファイルシステムの監視ツールです。
React Nativeの開発には欠かせないツールなのでインストールしておきましょう。
$ brew install watchman
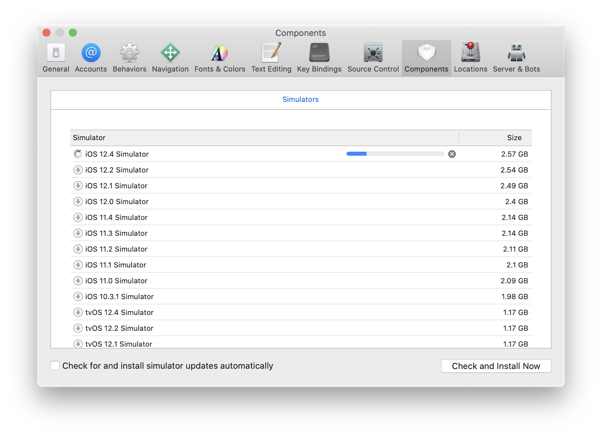
iOSシミュレータのインストール
Macで実行する際にiOSのシミュレータが必要となります。
Xcodeを起動し、シミュレータをインストールします。
[Xcode]->[Preferences]->[Components]からiOSシミュレータをインストール
Expoのインストール
ExpoとはReact Nativeアプリの開発を支援してくれるツールです。
Expoを使用すると、Javascriptのみを使用してクロスプラットフォームのネイティブアプリを構築することが可能となります。
$ npm install -g expo-cli
React Nativeプロジェクトを作成
以下のコマンドでプロジェクトを作成することができます。
以下の例ではtestというプロジェクトを作成しています。
$ expo init test
次にテンプレートを選択します。
とりあえず「blank」と入力します。
? Choose a template: (Use arrow keys)
  ----- Managed workflow -----
❯ blank                 a minimal app as clean as an empty canvas
  blank (TypeScript)    same as blank but with TypeScript configuration
  tabs                  several example screens and tabs using react-navigation
  ----- Bare workflow -----
  minimal               bare and minimal, just the essentials to get you started
  minimal (TypeScript)  same as minimal but with TypeScript configuration
次にnameとdisplayNameを入力します。
ここでは両方とも「test」としています。
? Please enter names for your project. › 100% completed
 {
   "name": "test",
   "displayName": "test"
 }
プロジェクトの作成が完了したら、作成したプロジェクトのディレクトリに移動します。
$ cd test
以下のコマンドを入力してプロジェクトを起動します。
$ npm start
起動が完了すると、以下のような入力を求められます。
Press a for Android emulator, or i for iOS simulator
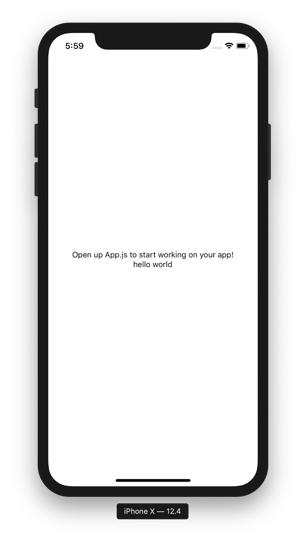
「i」 を入力してiOSシミュレータを起動します。
以下のログ出力と同時にシミュレータが起動します。
Running application on iPhone X.
以上、MacへのReact Native環境構築とシミュレータの実行までを備忘録とまとめました。
参考にする場合は自己責任にてお願いいたします!


コメント